Why email isn’t secure and 10 easy steps you can take to make it safer
Q. More than 204 million emails are sent in a minute so why isn’t email secure ?
A. The reason email is not secure is wasn’t designed that way.
Email has come a long way since 1979. From a simple way of messaging it’s evolved into our on-line personalities, how we sign up for things, collaborate, manage calendars and find information. The internet protocol (SMTP) which manages sending mail from client to mail server and between mail servers was designed for use in the very first network where everyone was already known and trusted. Passwords weren’t even encrypted. Adding the SSL/TLS security handshake into SMTP, as many mail providers have, provides security only on the first stage of the email journey. A recipient mail server may not have SSL installed. This means your email can be picked up and saved by a different server or “sniffed” and read on the network. The fact that email may just be going to the office next door doesn’t make it secure.
Aren’t public email addresses more secure than private?
“You’d have to torture me to force me to do it.” So says Justin White, former director of information security compliance for Colorado, in response to Time Magazine on whether he would use gmail or government email for sensitive data. It seems that US government departments vary hugely in how secure their servers are. Ironically, for security reasons it’s impossible to know just how secure or not a department is. Hillary Clinton chose to use a personal account instead of a government account while serving as Secretary of State, according to the New York Times. It’s still unknown why Clinton chose to use a personal email account instead of a State Department-supplied one.
Victims of the Ashley Madison hack didn’t seem to have an issue using a public email address. For those living under a rock for the last month, personal details of up to 32 million users of the “Life is short. Have an affair” website were released after it was hacked. According to the website Political Scrapbook, there are 92 Ministry of Defence email addresses among the leaked details. The website has found 1,716 email addresses from universities and further education colleges, using the .ac.uk suffix; 124 using .gov.uk; 92 using .mod.uk; 65 local education authorities and schools using .sch.uk; 56 National Heath Service emails and less than 50 police emails (.police.uk)
So do we just go back to chalk and blackboard?
Email isn’t going anywhere. It’s useful, easy and embedded in everything we use. A solution that existed long before email is Encryption. Encryption is basically scrambling data so it makes sense only when using the correct password or other credentials. In public/private key cryptography, if I want someone to email me an encrypted file I send her my public key. She can encrypt the file with my public key and email it back to me as an encrypted attachment. Only I can unencrypt the file with my private key. Even if my email is hacked, the encrypted file is useless without the private key.
Install and use Public/Private Key Encryption in 10 easy steps
While Mozobi Payments are fully PCI compliant and certified, we realise that email in general remains a vulnerable area for attack. One approach Mozobi takes is to encrypt email. As a chromebook user personally I found a solution in the chrome app store called “Mailvelope”. This is also useful for anyone using webmail instead of a local client.
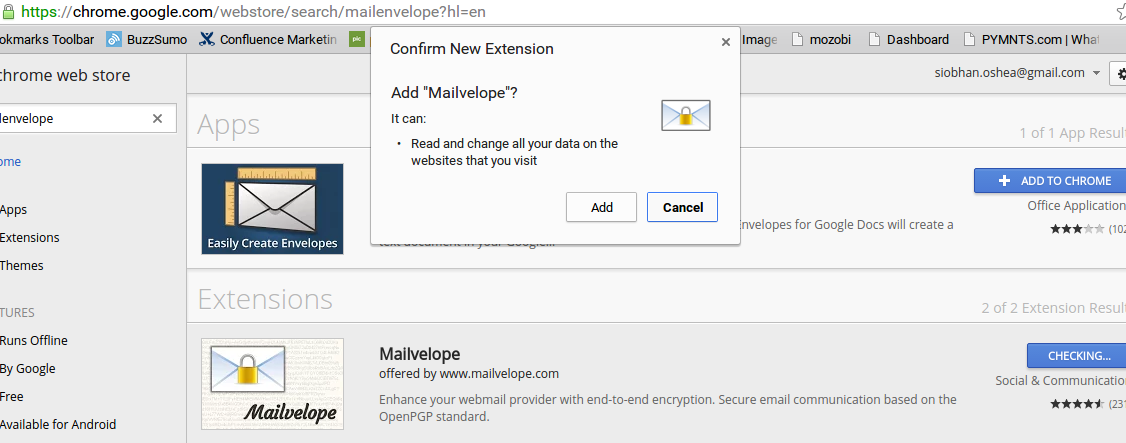
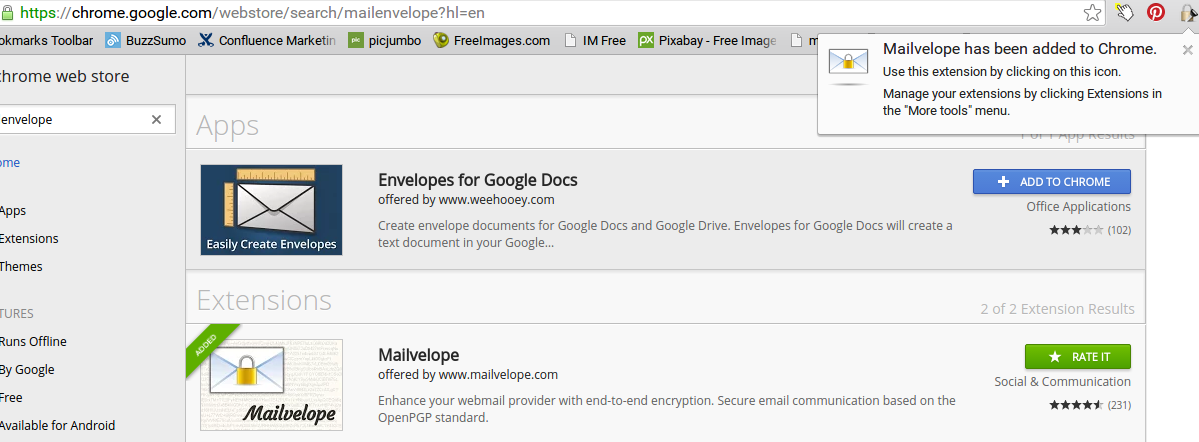
- Install Mailvelope from app store
2. Mailvelope is added
3. Pick mail provider under “Options”

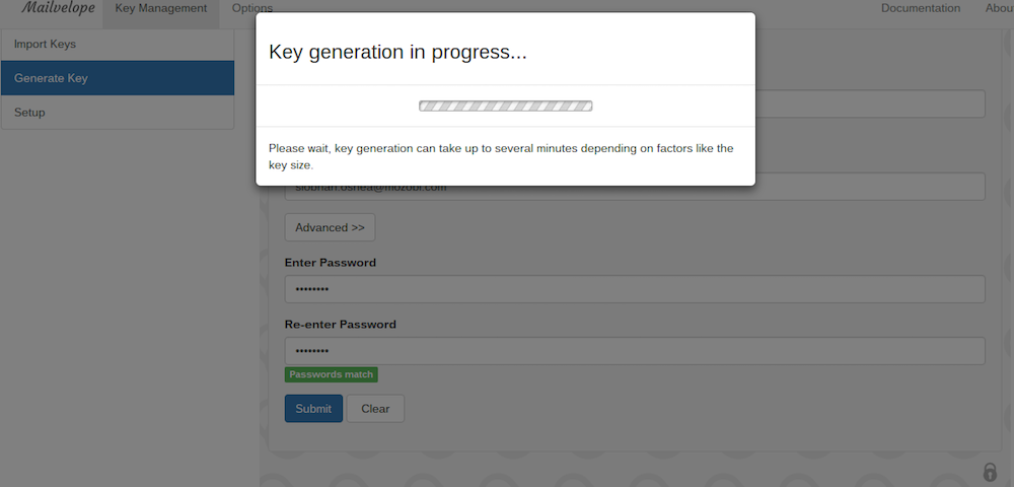
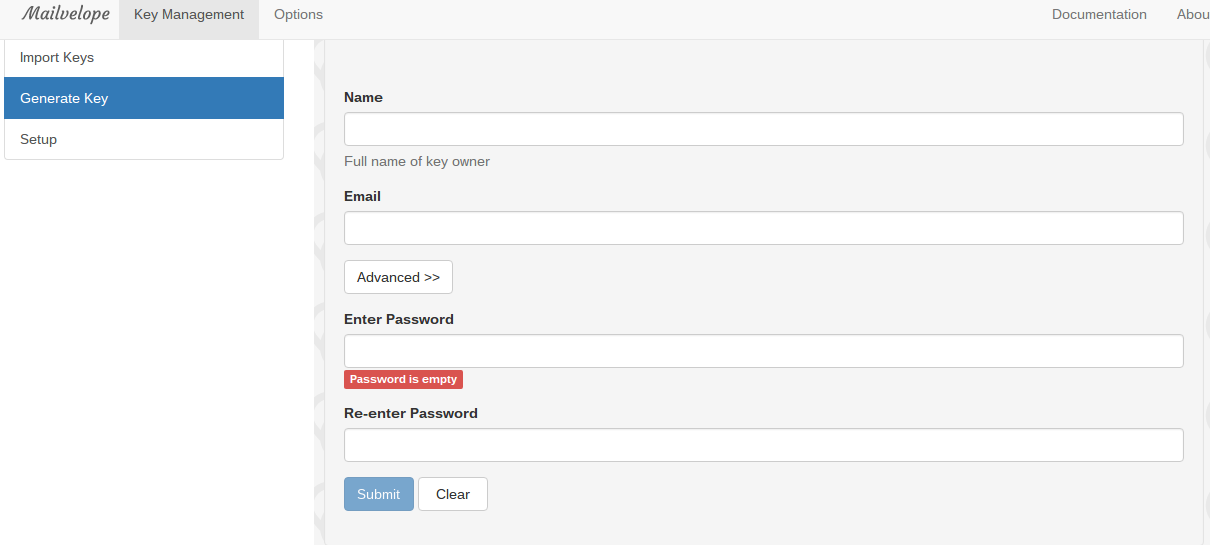
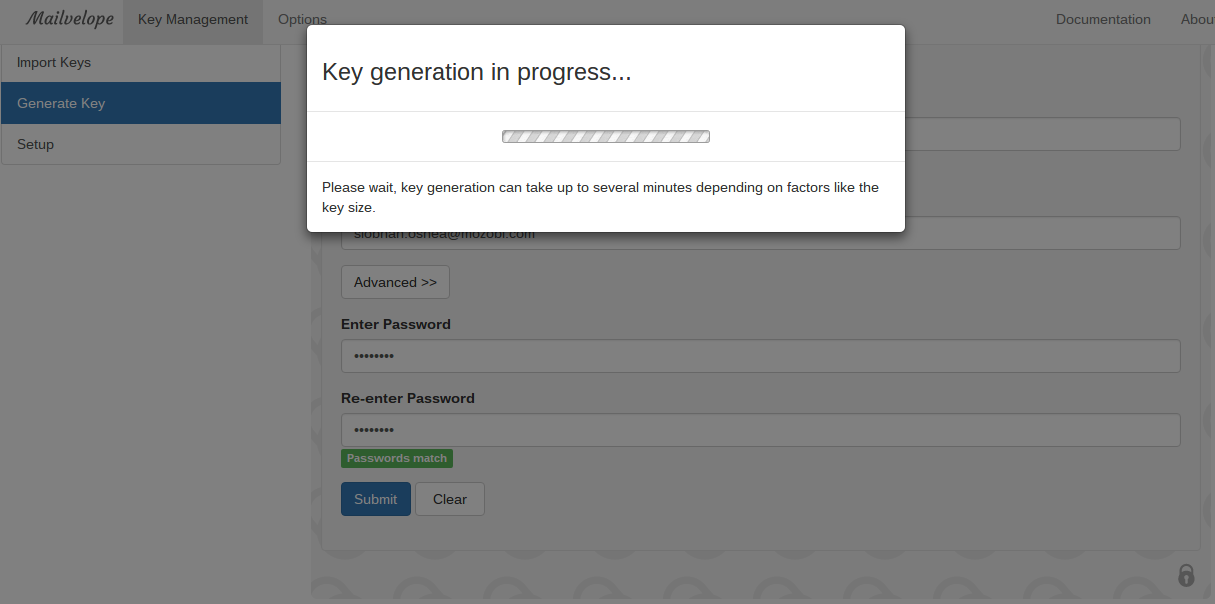
4. Generate key under “Key Management”
5. Public/Private Key generates
6. Click on Export under “Display Keys”

7. Copy your public key to email to recipient (not the private key)

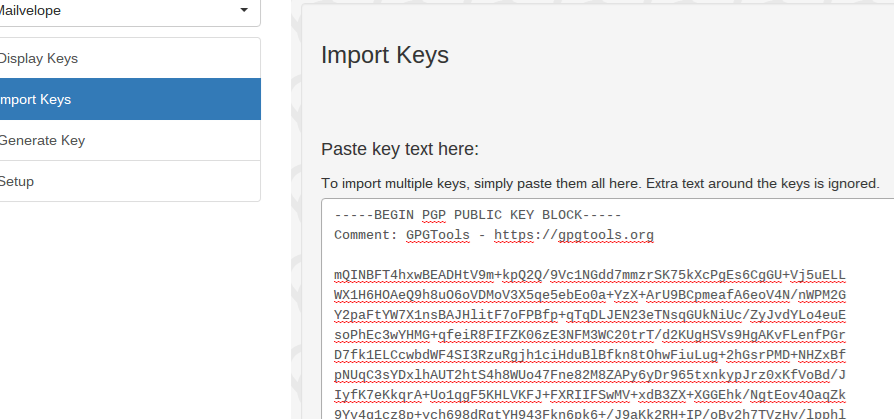
8. Paste the recipient public key under “Import Keys”
9. Send an email to recipient to test encryption. Select encrypt for the recipient email.

10. I receive an encrypted email from the tester who has my public key. I enter the password I created for my private key at the prompt and there is the unencrypted email.

I hope you found these 10 very simple steps to safer communication to be useful. For a more secure digital world, we believe easy email encryption should be available to all.